原文:https://www.arduino.cc/reference/en/language/functions/digital-io/pinmode/
説明
指定されたピンが入力または出力として動作するように構成します。ピンの機能の詳細については、Digital Pinsのページを参照してください。(Configures the specified pin to behave either as an input or an output. See the Digital Pins page for details on the functionality of the pins.)
Arduino IDE 1.0.1 では、モード INPUT_PULLUP で内部プルアップ抵抗を有効にすることができます。さらに、INPUT モードは明示的に内部プルアップを無効にできます。(As of Arduino 1.0.1, it is possible to enable the internal pullup resistors with the mode INPUT_PULLUP. Additionally, the INPUT mode explicitly disables the internal pullups.)
シンタックス
pinMode(pin, mode)パラメータ
pin: モードを設定したいArduinoのピン番号(the Arduino pin number to set the mode of.)
mode: INPUT、OUTPUT、または INPUT_PULLUP。機能のより完全な説明については、Digital Pinsのページを参照してください。(INPUT, OUTPUT, or INPUT_PULLUP. See the Digital Pins page for a more complete description of the functionality.)
戻り値
なし。
サンプルコード
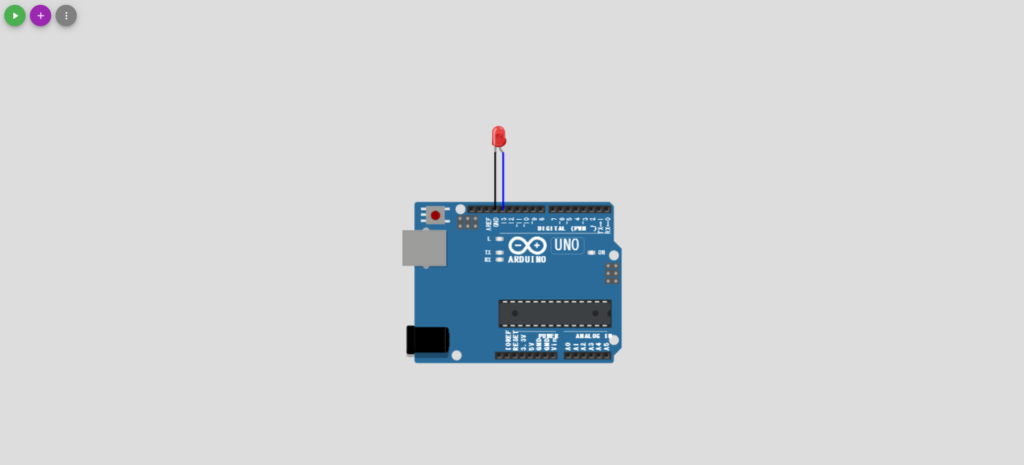
デジタル13番ピンをOUTPUTに設定し、HIGH と LOW に切り替えます。(The code makes the digital pin 13 OUTPUT and Toggles it HIGH and LOW)
訳者補足:digitalWriteのサンプルコードと実質的に同じです。
void setup() {
    pinMode(13, OUTPUT);    // 13番ピンを出力として設定する。
}

void loop() {
    digitalWrite(13, HIGH); // 13番ピンをHIGH(ON)に設定する。
    delay(1000);            // 1000ms待つ。
    digitalWrite(13, LOW);  // 13番ピンをLOW(OFF)に設定する。
    delay(1000);            // 1000ms待つ。
}
注意事項
ピンに何も接続されていない場合、digitalRead() は HIGH または LOW を取り得ます。 (これはランダムに変化する可能性があります)。(If the pin isn’t connected to anything, digitalRead() can return either HIGH or LOW (and this can change randomly).)
アナログ入力ピンは、A0、A1 などと呼ばれるデジタルピンとして使用できます。(The analog input pins can be used as digital pins, referred to as A0, A1, etc. )
訳者補足:原文には書かれていませんが、digitalReadやdigigalWriteと同じように、Arduino Nano、Pro Mini、および Mini の A6 および A7 ピンで、アナログ入力としてのみ使用できることに注意すべきでしょう。
補足情報:wokwiによるシミュレーション
wokwiによるシミュレーションは下記の通りです。画面右側の「Simulation」タブの再生ボタン(▶)を押すとシミュレーションが開始されます。
動きの説明:ボタンを押すと赤色LEDが光ります。
回路の説明:ボタンの誤作動防止のためにプルダウン抵抗を追加しています。
https://wokwi.com/projects/345854233943212626

補足情報:GitHubリポジトリ
下記にソースコードを保存しています。
